
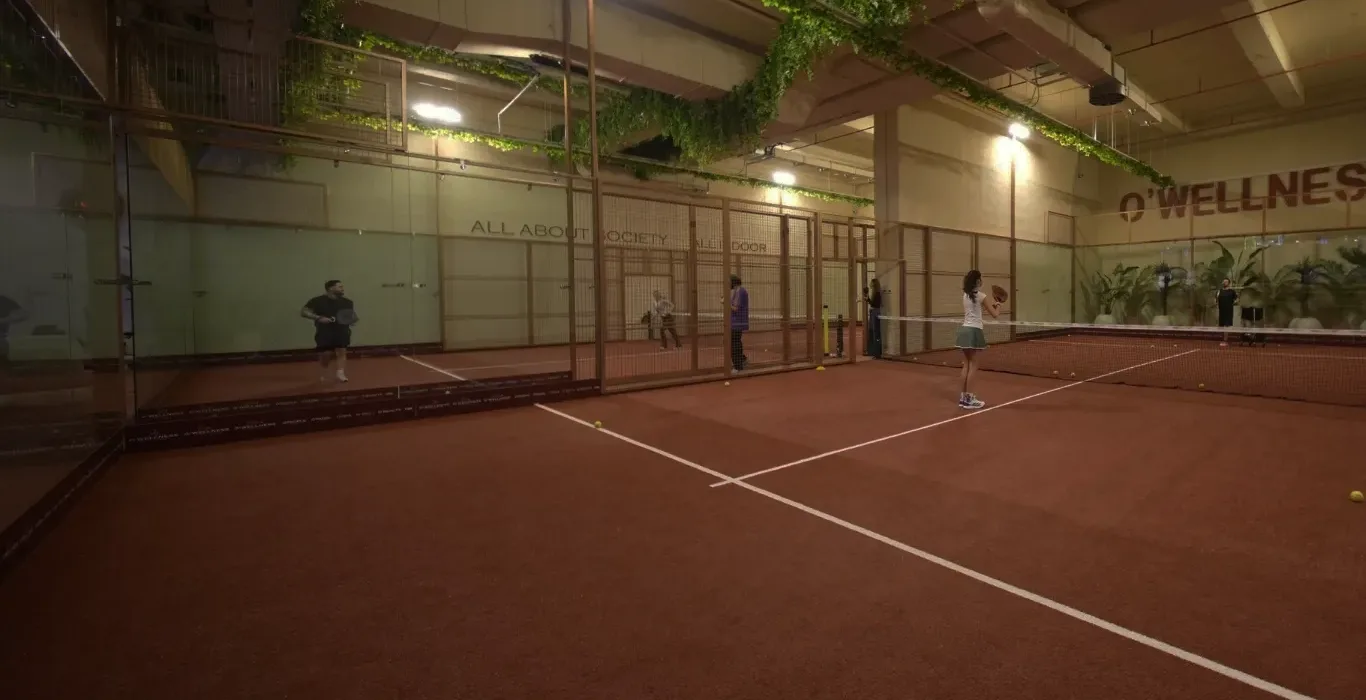
Padel forehand technique defines the game’s most frequently used groundstroke in three stages: preparation, contact and follow-through. In short, the padel forehand is a controlled shot hit from a sideways stance with a short preparation to the side, making contact with the ball at hip height in front of the body, with a short follow-through toward the target. The difference from tennis isn’t power but proportion: the swing is shorter, contact is further in front, and the goal is to place the ball, not to hit it past your opponent.
In this article we explain each stage of the forehand, the typical mistakes beginners make and how the forehand works with balls coming off the glass. As the O’Padel Beytepe coaching team, we work on the forehand in the first lessons, because a properly built forehand forms the body rotation and timing foundation for all later shots.
Summary
- The padel forehand consists of three stages: a short preparation to the side, contact at hip height out in front, and a short follow-through toward the target.
- The grip is the continental grip and doesn’t change throughout the shot.
- Power comes not from the backswing but from body rotation and weight transfer.
- The most common mistake is a big tennis-style backswing; it ruins timing on balls coming off the glass.
- The slice forehand is used on defense, and the flat or slight topspin forehand on attack.
Why is the padel forehand different from tennis?
In the tennis forehand, the player takes a long backswing to hit the ball hard, and the racket finishes with a full follow-through over the opposite shoulder. In padel, this motion doesn’t work for three reasons. First, the court is 20 meters long, and a ball hit hard comes back off the back glass and gives your opponents a second chance. Second, the ball often arrives having come off the glass and lost its speed; a long swing ruins timing on this slow ball. Third, a padel racket has a short handle and low leverage; lengthening the swing for power doesn’t pay off.
That’s why the padel forehand is scaled down: the preparation doesn’t go past shoulder height, contact is in front of the body, and the follow-through is short and toward the target. You can find how every shot is shaped by these principles in the padel shot techniques guide.
Stage 1: Preparation
Preparation starts the moment the ball leaves your opponent’s racket. Good preparation makes up seventy percent of the shot; a player who prepares late or incorrectly can’t save it no matter how well they hit.
Feet and stance
When you see the ball coming to your forehand side, do a split step and move into a sideways stance: if you’re right-handed, your left foot goes forward and your shoulders turn toward the side glass. Knees slightly bent, weight on the back foot. This stance lets you step toward the ball and gain room for body rotation. For footwork details, see padel footwork .
Racket and arms
The racket is taken to the side, not back; the racket head is at about shoulder height and the handle at hip height. The non-hitting hand stays near the throat of the racket and turns with the body throughout the preparation; this ensures your shoulders turn enough. The grip is the continental grip; for details, see the padel racket grip guide.
Preparation for a ball off the glass
If the ball is heading to the back glass, complete your preparation but don’t start the swing; wait in a sideways stance a step or two away from the glass and watch the ball come back. Beginners try to redo their preparation on balls off the glass and miss the timing. The rule: one preparation, one shot. We cover reading the glass in detail in the post using the walls in padel .
Stage 2: Contact
The moment of contact is where, at what height and at what racket face angle you touch the ball. In the padel forehand, the ideal contact point has these three characteristics.
- In front of the body: Level with or slightly ahead of your front foot. Contact beside or behind the body sends the ball into the side glass.
- At hip height: The height between hip and knee where the ball starts to drop after the bounce. This is the point where it has lost speed and is easiest to control.
- Racket face slightly open: With the continental grip, the face is naturally a little open; this sends the ball safely over the net, flat or with slight slice.
At contact, the power comes from transferring your weight from the back foot to the front foot and from trunk rotation that starts at the hips. The arm simply carries the racket to the target; the wrist stays firm. Trying to generate power with an active wrist hurts both your control and your elbow health. We explain this in the article on wrist use in padel.
Contact on high and low balls
Ideal contact is at hip height, but the ball doesn’t always come there. On low balls (below the knee), bend your knees to lower your body to the level of the ball; open the racket face more and play it with slice instead of reaching down with a bent arm. On high balls (shoulder height), the shot is no longer a forehand and, depending on the situation, turns into a bajada or bandeja. Trying to hit a shoulder-height ball with classic forehand mechanics is one of the most common mistakes we see; the ball either flies high into the glass or catches the net.
The shortest way to get the feel of forehand contact is to have a coach feed you a hundred balls at the same height. Try the lesson + court package on our indoor courts in Beytepe; just message us on WhatsApp (+90 536 908 08 00).
Stage 3: Follow-through
In the padel forehand, the follow-through is short and toward the target. After contact, the racket extends toward the target and stops at about chest height, in front of the body. A follow-through over the opposite shoulder, as in tennis, sends the ball high and into the glass in padel.
The length of the follow-through varies with the type of shot: on a defensive slice forehand there’s almost no follow-through; the racket “carries” the ball and stops. On an attacking forehand, a slightly longer follow-through is used, but still toward the target. By the time the follow-through is complete, your feet should already be moving toward the next position; the forehand isn’t a shot on its own, it’s the preparation for the next shot. After the follow-through, quickly bring the racket back to the ready position in front of your chest; even if your opponents’ reply comes off the glass, it usually arrives sooner than you expect.
Types of forehand: defensive, transition and attacking
Three different forehands are played with the same basic mechanics. Which one to use when depends on where you are on the court and the position of the opposing pair.
| Forehand type | Spin | Goal | When? |
|---|---|---|---|
| Defensive forehand | Slice | The feet of the opposing net player, low and deep | At the back, opponents at the net, when you need to play it safe |
| Transition forehand (chiquita) | Light slice, very soft | Just behind the net, at the opponent’s ankles | When you want to buy time to move forward |
| Attacking forehand | Flat / light topspin | Between the opposing pair, or the side glass–back glass corner | When the ball is high and the opponents are back or off balance |
At club level, most forehands should be defensive forehands. Choose the attacking forehand only when the ball is truly high and your opponents are off balance; otherwise, a ball hit hard comes back off the glass and gives your opponents an easy volley. For details on choosing spin, see spin in padel .
The forehand and court position
The role of the forehand changes depending on whether you play on the right or left side of the court. If a right-handed player plays on the right side, their forehand comes into play on balls near the side glass, and defensive slice dominates. If the same player plays on the left side, their forehand takes balls coming through the middle and finds more opportunities for attacking forehands. That’s why players who say “my forehand is strong” are often more effective on the left side; however, this choice also requires a strong backhand exit off the glass.
When deciding which side to play on, assess your forehand and backhand together. For the backhand side, see the post padel backhand technique ; the balance between the two shots is the foundation of choosing a side.
Common forehand mistakes and how to fix them
- A big backswing: Take the racket to the side, not back. Fix: remember that during preparation, the racket head shouldn’t “see” the back glass.
- Late contact (beside the body): The ball goes into the side glass. Fix: finish your preparation early and take a step toward the ball.
- A high follow-through: The ball flies high into the glass and your opponent smashes. Fix: stop the follow-through at chest height.
- Hitting with the wrist: Loss of control and elbow pain. Fix: firm wrist, power from the hips.
- Turning your back to the glass: You miss the ball coming off the glass. Fix: stay in a sideways stance, eyes on the ball.
- Hitting every forehand hard: You try to finish the point yourself and give your opponents a chance. Fix: eighty percent slice defense, twenty percent attack.
Most of these mistakes go unnoticed until you watch your own stroke. Even a 30-second phone video clearly shows the length of your preparation and follow-through; we explain how to analyze it in the article on video analysis in padel.
Rhythm and breathing in the forehand
Some technical errors are not mechanical but rhythm-related. A player who rushes the preparation hits the ball too early, while one who prepares late gets jammed. A simple cue we use in lessons is to count silently “bounce” as the ball bounces and “hit” at contact; the time between these two points sets the rhythm of the stroke. Exhaling at contact also relaxes the arm and makes it easier to keep the wrist stable. Players who hold their breath under pressure get a tight, shortened forehand, something you see often at the critical moments of a match.
Four drills to improve your forehand
- Shadow swings: No ball, two minutes a day, 20 reps in front of a mirror or glass. Check that the backswing stays below shoulder height and the follow-through finishes at the chest.
- Fixed target: Have your partner feed you 30 balls to the same spot; send each one with slice to a target in the side glass/back glass corner of the opposite court.
- Forehand off the glass: Have your partner send the ball to the back glass; wait for it to come off the glass and hit a forehand at hip height. The goal is 10 in a row without an error.
- Three-target rotation: Set three targets on the opposite court: the side glass/back glass corner, the center line and just behind the net. Switch targets in turn with every ball; it teaches you to adjust the length of your follow-through and the angle of the racket face to the target.
- Defense vs. attack: Have your partner alternate one low and one high ball; slice the low one, hit a flat forehand on the high one. It trains your decision speed.
For more solo practice, check out the 20 padel drills article. For planned practice with a coach, padel lessons page.
Result
Padel forehand technique can be reduced to the trio of short preparation, contact out in front and controlled finish; everything else is a repetition of these three. Building the forehand correctly teaches the body rotation and timing used in every shot, from the backhand to the bandeja. On the courts of O’Padel Beytepe in Ankara, in a climate-controlled environment with consistent glass bounce and good lighting, you can work on your forehand every day of the year, in snowy winters and hot summers alike. If you're coming from Beytepe, Çankaya, Ümitköy or Çayyolu, you can find a suitable time by booking via WhatsApp; for court specifications padel courts page.
Frequently Asked Questions
In front of your body, level with or slightly ahead of your front foot, at hip height. This is where the ball has lost its pace and control is easiest; contact beside or behind your body sends the ball into the side glass.
At club level, the vast majority of forehands should be hit with slice, for defense. A flat or slight topspin forehand is only used to attack when the ball is high and the opposing pair is off balance.
No, in padel it is an advantage. A ball hit hard comes back off the back glass and gives your opponent a second chance. The goal of the padel forehand is not power but placing the ball low and in the right spot.
One coached lesson plus two or three playing sessions per week is enough for most players. Spending the first ten minutes of each session on shadow swings without a ball and fixed-target work locks in the mechanics quickly.



 Padel Courts
