
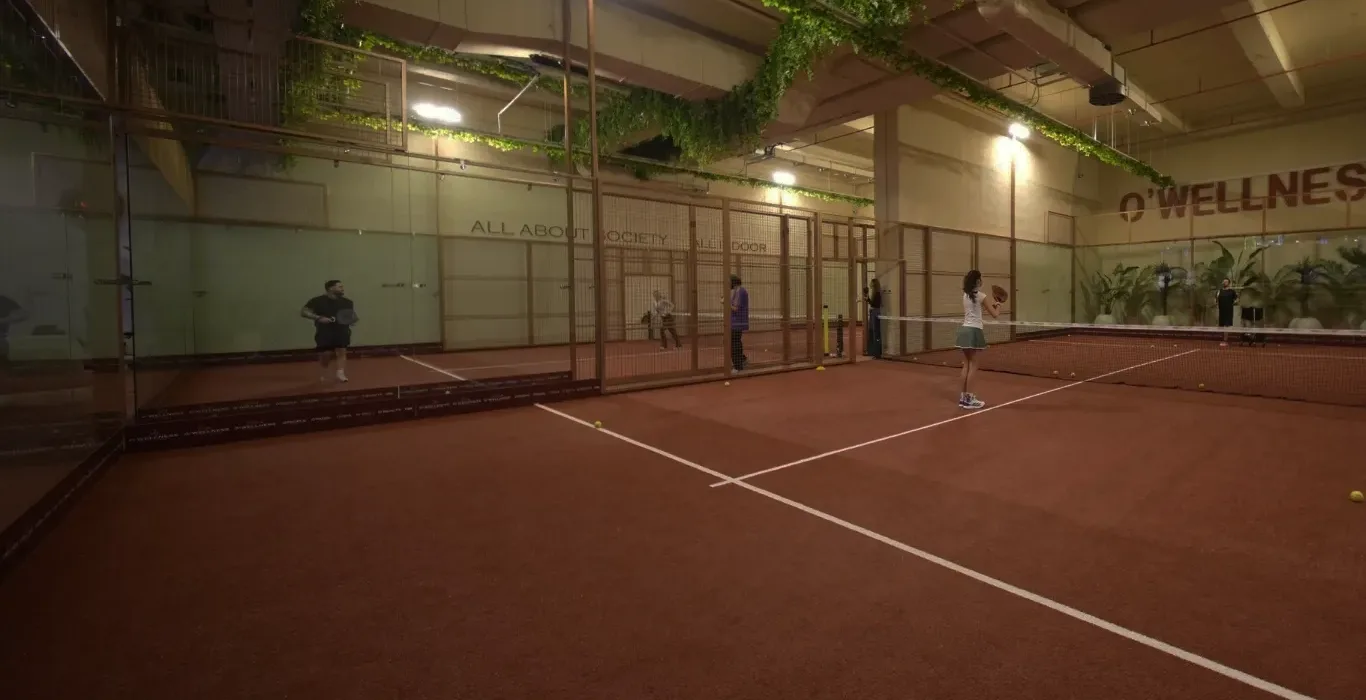
For people new to padel the hardest part is not the first shot but not knowing where to start. Rules, equipment, positioning, shot types and glass play all land in front of you at once, and trying to learn them all at the same time slows progress. In this guide we plan your first 10 hours on court hour by hour. It is a practical roadmap based on the sequence we have seen work when training new players at Beytepe.
Why a 10-Hour Plan?
Padel’s learning curve is fast compared with other racket sports. The court is small, the racket has a short handle and the ball bounces slowly. This trio lets you rally even in your first session. But this speed hides a trap: players who start playing matches before the basic habits are settled pick up mistakes that are hard to correct later.
A ten-hour framework offers a balance that neither postpones the fun of playing nor puts the basic habits in the wrong order. For someone playing two hours a week, it is a process of about five weeks.
Hours 1-2: Meeting the Court, the Rules and the Racket
The goal of the first two hours is not a perfect shot but feeling comfortable on court.
- Racket grip: The continental grip is padel’s basic grip. Learn to hold the racket as if gripping a hammer, and try hitting both forehand and backhand with this grip.
- Wrist strap: Build the habit of wearing the strap from the first hour; it is necessary for safety.
- Basic rules: Below-waist serve, a single bounce, no touching the net. Those three are enough; the rest comes later.
- Simple exchanges: Try to respond in a controlled way to the slow balls fed by the coach or your partner. The goal is not power but getting the ball across.
Don't invest in equipment at this stage. Starting with rental or club rackets and buying your own racket once you know your style is a much better sequence.
Hours 3-4: Forehand, Backhand and Positioning
Time to settle the two basic shots. The focus points:
- Early preparation: Turn your shoulder the moment you see the ball's direction. In padel, the biggest cause of being late is delaying your preparation.
- Short motion: Don't take a big swing like in tennis. Padel shots are short, controlled movements supported by body rotation.
- Bend your knees: Low balls are padel’s standard situation. Learning to get down from the knees also protects your back.
- Court side: Try the difference between the right and left sides. Note which side feels more comfortable.
The Golden Rule of Positioning
In padel, you move side by side with your partner. Both of you should be at the net or at the back of the court at the same time. When one is forward and one back, the gap between is the opponent's easiest target. This one rule determines a significant share of the points you'll win in the first weeks.
Hours 5-6: Introduction to Glass Play
This is where the part that makes padel padel begins, and it is the part beginners find hardest.
- Learn to wait: Don't run onto a ball heading to the back glass. Wait for the ball to come off the glass and drop to waist height.
- Give yourself a step of space: Waiting very close to the glass makes it impossible to play the rebounding ball. Position yourself one step away from the glass.
- Keep your face toward the net: Instead of turning your body fully to the glass, turn sideways; that way you have the angle to send the ball across.
- Watching-only drill: Don't try to hit in your first attempts. Ask your coach for ten balls and just watch how the ball comes off the glass. This is the most effective exercise for speeding up learning.
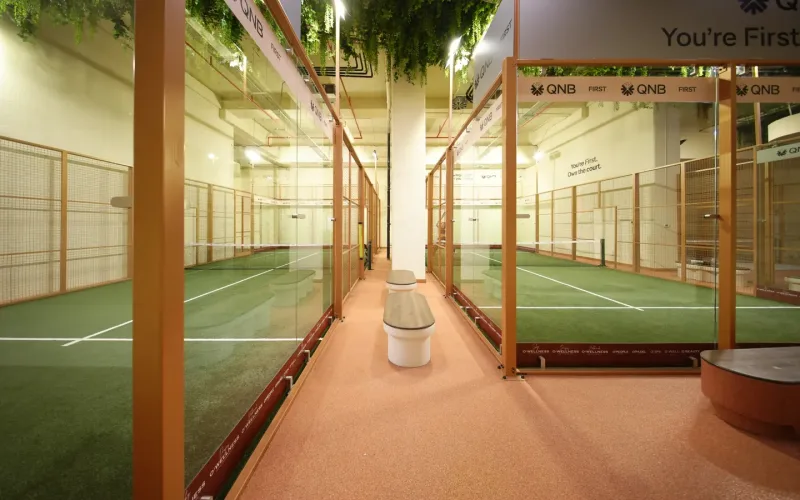
Because the ball's arc is predictable on indoor courts, learning glass play is noticeably easier at venues with indoor courts such as Beytepe.
Hours 7-8: Serve, Return and Net Volley
Now that you can rally, you can move on to the scoring structure.
- Serve: Practise bouncing the ball on the ground and serving below the waist, with a controlled arc, into the diagonal box. Don't look for pace; in padel, the serve is not a pressure tool but the move that starts the point.
- Run to the net after the serve: After serving, move toward the net. This habit is the foundation of positional advantage in padel.
- Return: When receiving the serve, aim to send the ball back deep and under control. Aggressive return attempts produce errors at this stage.
- Block volley: At the net, learn to hold the racket steady and cut the ball off. In padel, the volley is made not with a swing but by holding the face at the right angle.
Hours 9-10: Your First Real Matches
Try what you've learned over the last two hours in a match setting. The goal here is not to win but to learn to make decisions.
- Score-calling practice: Say the score aloud. Padel scoring is similar to tennis; saying it out loud is the easiest way to get used to it.
- Communication: Say “mine” or “yours” on every ball. This prevents collisions and joint-hit violations.
- Simple tactics: Keep the ball deep, leave the opponent at the back, and try to take the net. Leave advanced shots for now.
- Error analysis: At the end of the match, note in a single sentence which mistake you made most. Make that the goal of your next session.
Where Should You Be After 10 Hours?
By the end of this plan, a typical new player knows the basic rules, can rally with forehand and backhand, can occasionally return a ball coming off the back glass, serves with confidence, and has grasped the logic of positioning as a pair. This is the level at which you can comfortably join social matches within the club.
Mistakes to Avoid in the First 10 Hours
- Early equipment investment: Buying an expensive, heavy racket before your style has settled slows your progress.
- Chasing power: Padel is a game of control. Trying to hit hard is the approach that costs the most points in the first weeks.
- Skipping glass play: A player who avoids using the glass has not learned half of padel.
- Working alone: Padel is a doubles game; you only learn positioning with other players.
- Skipping the warm-up: The shoulder, elbow and wrist work hard in padel. A short warm-up routine should become a habit.
Frequently Asked Questions
Can I learn without taking lessons? You can learn to rally, yes, but a few lessons make a clear difference in setting the basic technical habits correctly. Things like the grip and the bandeja are hard to settle on your own.
How often should I play per week? At the start, two sessions a week is a balanced rhythm for both learning and recovery.
Is my tennis experience an advantage? Partly. Reading the ball is an advantage, but big-swing and power habits are things that need correcting in padel.
What should I wear? Comfortable sportswear and sports shoes with a sole suited to the surface are enough for the first sessions.
Result
Spending your first 10 hours in padel progressing in sequence rather than without a plan gives you far more in the same time. Start with the grip and rules, settle the basic shots, ease into glass play patiently, add the serve and volley, then play matches. Players who follow this order generally feel comfortable in social matches by the end of the second month. What matters is not speed but the right order.
What Comes After 10 Hours?
After completing this roadmap, the second stage of development begins, and the focus shifts to shot variety. The next three topics to build on the ten-hour foundation are: the bandeja, the lob and the smash. The bandeja is the shot that lets you handle high balls without losing your net position, and it is the threshold of moving up to intermediate level in padel. The lob is the safest way to push the opponent back and win the net back. The smash should come last; trying a smash before the technical foundation is settled puts needless load on the shoulder and back.
Another part of the second stage is decision-making speed on court. Telling which ball to attack and which to lift safely is more about reading the game than technique. This skill develops only by playing with players of different levels; that's why taking part regularly in social matches complements technical lessons.
Tracking Your Own Progress
A simple notebook or phone note is a plain tool that speeds up progress. After each session, write three lines: what went well today, which mistake I repeated most, and what the single goal of the next session will be. When you look back after five weeks, these three lines give you a clear map of your progress and show by themselves what you should take lessons on.


 Padel Courts
